Looking to add a sprinkle of star-like charm to your garden? Enter the aster flowers, nature’s way of gifting us with dazzling colors from late summer to fall. With blooms that resemble tiny stars, asters are perfect for brightening up borders, containers, and bouquets alike. Let’s dig into the fun, informative, and sometimes humorous world of asters—how to plant them, care for them, and keep them multiplying in your garden.
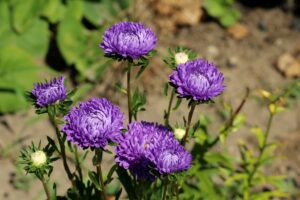
Aster Flowers
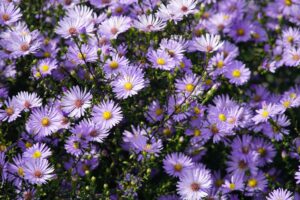
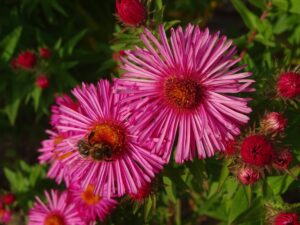
The aster flower belongs to the Asteraceae family and brings a burst of color to your garden just when many other flowers are winding down for the season. They come in a range of colors—lavender, purple, pink, blue, and white—providing a delightful contrast against the autumn hues. Aster flowers are perennial, which means they come back year after year, adding long-lasting beauty to your garden with minimal effort (who doesn’t love a low-maintenance superstar?).
- Height: Depending on the variety, asters can range from 8 inches to over 6 feet tall!
- Bloom Time: Late summer to fall, with some varieties blooming well into October.
- Flowers: Their daisy-like, star-shaped blooms can be anywhere from 1 to 3 inches in diameter. They’ve also got some serious butterfly magnetism going on.
Now that you’re already smitten, let’s talk about how to make these beauties thrive in your garden.

How to Grow Aster Flowers
Growing aster flowers is as easy as pie (okay, maybe easier!). Here’s how to ensure your asters are the stars of the show:
Choose the Right Location
The first step to successful aster growth is picking the perfect spot. Asters love full sun—we’re talking at least 6 hours of direct sunlight a day. While they can tolerate a bit of shade, too much will leave them looking leggy and sad. Think of them as your sun-loving garden divas!
Soil Requirements
Here’s a tip for happy asters: well-draining soil is key. These plants don’t like sitting in soggy soil, which can lead to root rot. If your soil’s on the heavier side, consider mixing in some organic matter like compost to improve drainage. They prefer a slightly acidic to neutral pH (about 5.8 to 6.5), but honestly, they’re not too fussy.
Watering Schedule
Watering asters is a bit like the Goldilocks principle—not too much, not too little, but just right. Keep the soil evenly moist, especially when the plants are establishing. Once they’re more mature, asters are relatively drought-tolerant, but they’ll appreciate a drink during dry spells.
Planting Time
The best time to plant asters is in early to mid-spring, once the soil has warmed up. If you’re planting from seed, start indoors about 6 to 8 weeks before the last frost. Once the seedlings are strong enough, transplant them into the garden.
How to Care for Aster Flowers
Now that your aster flowers are happily rooted, let’s dive into caring for these celestial blooms:
Fertilization
Asters aren’t the greediest feeders, but a little extra food goes a long way. A dose of balanced fertilizer (10-10-10) in the spring will keep them blooming their best. Just don’t overdo it—too much nitrogen can lead to fewer flowers and more leaves, which is not the look we’re going for!
Pruning and Deadheading
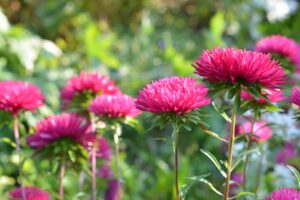
To keep your asters looking tidy and encourage continuous blooming, deadhead spent flowers throughout the growing season. In late fall, after the first frost, cut the plants down to the ground. They’ll come back stronger and more fabulous next spring.
Watch Out for Pests and Diseases
Asters are generally tough cookies, but keep an eye out for powdery mildew, especially if they’re not getting enough sunlight or airflow. The best prevention is good garden hygiene—space your plants properly, water at the base, and avoid wetting the leaves.
How to Propagate Aster Flowers
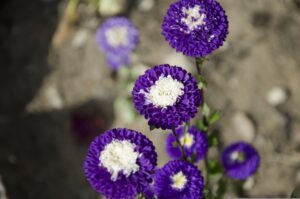
Love your asters so much that you want more? Good news—you can propagate them easily! Here are three simple ways to multiply your asters:
Propagation by Division
The easiest and most common way to propagate asters is by dividing the plants. Every 2 to 3 years, asters can get a bit crowded. This is your opportunity to divide the clumps and create new plants. Early spring or after they’ve finished blooming in the fall is the best time for division. Here’s how:
- Dig up the plant carefully, making sure to keep the roots intact.
- Using a sharp knife or spade, split the plant into smaller sections, each with healthy roots.
- Replant the divisions in well-prepared soil, and give them a good watering.
Boom! Instant aster multiplication.
Propagation by Cuttings
If you’re feeling a bit more ambitious, taking stem cuttings is another method. This technique is best done in early summer:
- Take a 3- to 4-inch cutting from a healthy, non-flowering stem.
- Strip off the lower leaves and dip the cut end in rooting hormone (optional, but speeds things up).
- Place the cutting in moist potting soil, cover it with a plastic bag, and keep it in indirect light until roots form.
In a few weeks, you’ll have a brand-new aster ready to join the garden party!
Growing from Seed
If you want to go the more traditional route, aster seeds can also be sown directly into the garden in the spring. However, growing from seed takes a bit more patience and may not yield identical offspring if you’re using hybrid varieties. But hey, gardening is all about surprises, right?
Wrapping It Up: Aster Flowers – A Garden Star Worth Growing
Whether you’re a seasoned gardener or just starting out, the aster flower is an absolute delight to grow. From its star-shaped blooms to its versatility in the garden, asters bring a burst of color and energy that’s hard to resist. They’re easy to grow, low-maintenance, and perfect for propagation, making them a must-have in any garden.
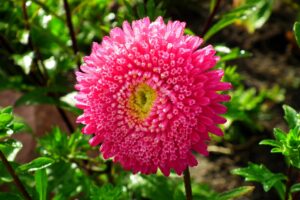
So go ahead, get yourself some asters, and watch your garden light up with their celestial beauty. And remember, whether you’re planting, caring, or propagating, the aster flower is always ready to shine!


